Showing posts with label example. Show all posts

Friday, January 31, 2014

More Information on the Awesomeness of binary data

Hi everybody!

This month I am going to do a build on one of Ed's posts from this month.  It was titled "Using Binary Data Transfers to Improve Your Test Throughput".  If you have not read it, go ahead and click on the link. I'll be here when you get back.

I wanted to reiterate how drastic the difference is between using these two interfaces when you are reading large amounts of data.   I did some bench-marking a little while ago and I wanted to share it now with everybody.  Please note that these were quick tests that I did and in no way are official numbers.  In fact if you see anything wrong with my methods, please comment.   

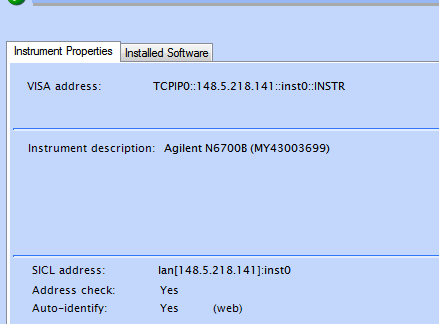
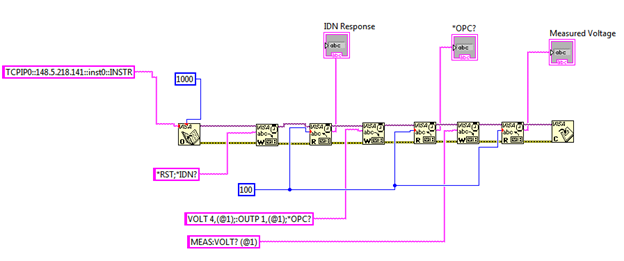
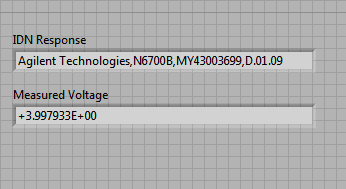
The first thing that I will talk about is my method.  I did the test with a N6700B MPS Mainframe and a N6781A SMU module.  I wrote a program that set up the module to source 5 V and then take an array of voltage measurements.  I set it for the maximum number of measurement points (524288 points) with the fastest sample rate (though for this experiment the sample rate does not really matter).  Before I did the reading of the data from the N6700B to my PC I started a programmatic stopwatch and stopped the stopwatch after the reading was complete.  I looped 20 times and took the average.

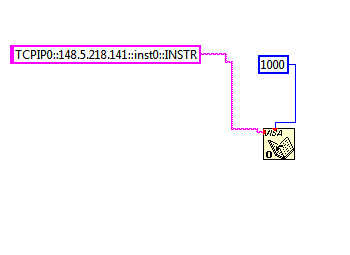
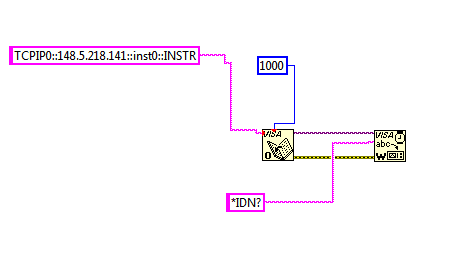
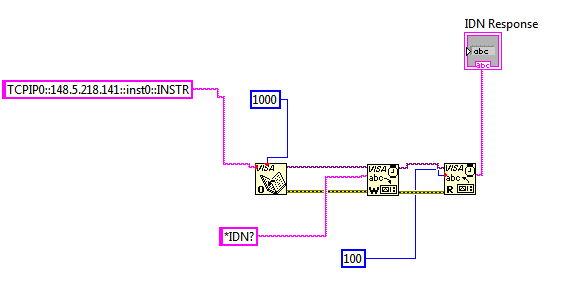
One thing that I would highly recommend is to use the Agilent VISA-COM IO library.  The VISA-COM library offers a ReadIEEEBlock function that makes reading binary data really easy for you.  

The screenshot below shows the relevant loop and the calculation.  This program was written in VB and I used LAN to communicate with the instrument.


The other important piece that this is not showing is that I am setting the data format to real using FORM REAL command.  When you use ASCII, the command is FORM ASCII (this is also the default setting).

You can see the commented out ReadString command that I swapped in when I used the ASCII data format.  You can also see my extremely professional (and useful) "I am on line" counter that I put in so that I knew my program was looping correctly.

So now for the times.  ASCII format took around 100 s to read back all 524288 measurements into a string.  When I switched to the binary format, it took under 5 seconds. As you can see, that is a very drastic difference and if you are reading back a lot of data from an instrument that supports the binary format, you really need to use it.

I also did a few other experiments.  I changed the total number of points down to 1000.  The binary format took a little under 20 ms to read the data and the ASCII format took about 125 ms.  The last test that I did was 3 data points.  The binary format took a little less than 15 ms and the ASCII format took under 5 ms to make the measurement.  So you can see that as you read less and less data back, the ASCII format does catch up to the binary format and even exceed it.

Moral of the story is that if it is something more than a few points to read back, use binary because it will save you a ton of time.

That's all I have this month and I will be back next month!


Friday, November 29, 2013

Using Labview without Using an Instrument Specific Driver

Hi everyone!

Labview is presently one of the most popular programming languages for programming test and measurement equipment.   Here at Power and Energy Central, we often get requests for more Labview programming examples for our products (which is definitely something on my agenda).   We also get requests for Labview drivers (which do exist for many of our products).  I thought that I would use this month’s blog posting to demonstrate how to program without using a driver.  There are a few advantages to this approach.  The first and main one is that it gives you access to the full SCPI command set of the instrument.  Anything you can do with the instrument is available to you.  The second advantage is that you do not need to worry about downloading and setting up drivers. 

I am going to work through an example using my Agilent N6700B on LAN.  We are going to use VISA calls in Labview to communicate with the instrument.  The first thing that we are going to need to do is get the VISA init string from the Agilent IO Libraries (or whatever IO Library you are using).  You can see the init string from my N6700B below (from the Agilent IO Libraries):


With the VISA address in hand, start up Labview and choose a blank VI.  Go to the Functions Pallette -> Instrument IO -> VISA ->Advanced and choose Open.  This function will open up a VISA session with your instrument.  There are quite a few inputs to this function but I usually just set up the instrument address and the VISA Open timeout:

After opening a session, we are ready to send our first commands.  I usually like to send a *RST and a *IDN?  so I know that I am in a known state and fully communicating with my instrument.   To send a command, you are going to go to the VISA menu and choose Write.  There are a few lines that you will need to connect here.  In Labview, you will always connect the “VISA Resource Name Out” and “error out” lines through your entire program (you will see that throughout this example).   The command is the other input.  This will need to be a string.  

Since we sent a query, we need to read out the output buffer.  This is done by choosing read in the VISA menu.   You need to do with the read are set the byte count to be read (I set it to 100 bytes so it is totally out of the way).   You also need a string indicator so that you can read and display the results of the *IDN query.


I am going to finish out my program by setting my supply to 4 V, turning the output on, and measuring the voltage.  All of these steps will use the same reads and writes that we used before.  The last thing I will do is use a VISA Close.  Using a Close will de-allocate all the resources and release the instrument.  This is generally good programming practice and is often overlooked.  Here is what the final program looks like:


After I run the completed program, I get the following results:


We can see that the results are as we expected and our program is working.

From this example, you can see that doing simple things is pretty easy in Labview.   If you are interested in downloading the example, please leave a comment here and I will post it so that you can get it.  As always, if you have any questions please feel free to post in our comments.  Take care!